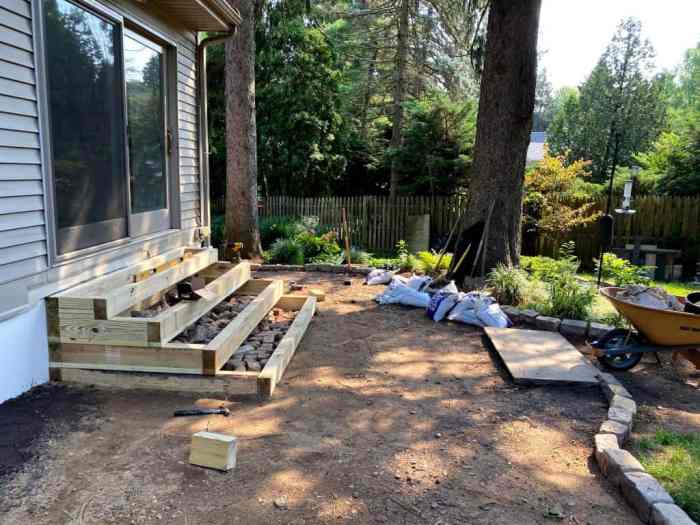
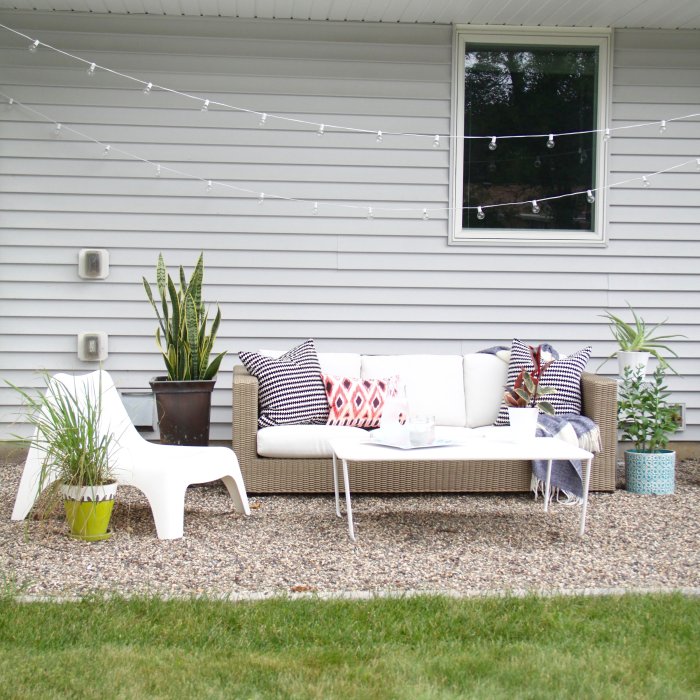
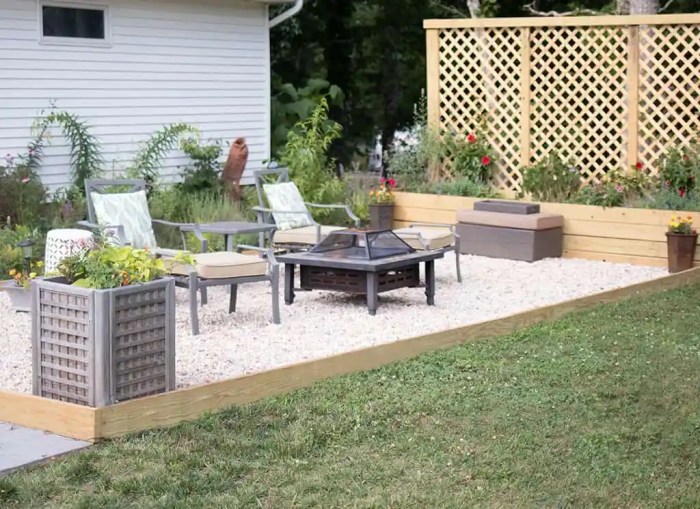
DIY Gravel Patio: A Step-by-Step Guide, this project transforms your outdoor space into a stylish and functional haven. From planning the perfect layout to adding those finishing touches, we’ll guide you through every step, empowering you to create a beautiful and durable patio that you’ll enjoy for years to come.
Table of Contents
A gravel patio offers a unique blend of practicality and aesthetic appeal. Its durability, low maintenance requirements, and versatility make it an excellent choice for homeowners seeking a budget-friendly yet elegant outdoor space. Whether you envision a cozy seating area, a lively gathering spot, or a serene escape, a DIY gravel patio can fulfill your vision.
Creating the Base for Your Gravel Patio

The foundation of your gravel patio is crucial for its stability and drainage. A well-prepared base ensures a level surface and prevents settling, allowing for a long-lasting and enjoyable patio. This involves creating a barrier to prevent weeds and laying down a layer of gravel for drainage and support.
Installing a Landscape Fabric Barrier
A landscape fabric barrier is essential for preventing weeds from growing through your gravel patio. It’s a woven material that allows water to drain while blocking weed growth.
To install the landscape fabric, follow these steps:
1. Prepare the Area: Clear the area of any existing vegetation and debris. You may need to use a shovel or a tiller to loosen the soil and remove any roots.
2. Lay Down the Fabric: Unroll the landscape fabric over the prepared area, ensuring it extends beyond the perimeter of your patio by at least 6 inches on all sides.
3. Secure the Fabric: Use landscape staples or landscape pins to secure the fabric to the ground every 1-2 feet. Ensure the fabric is taut and free of wrinkles.
4. Overlap Fabric Sections: If you need to use multiple pieces of fabric, overlap them by at least 12 inches to prevent gaps and weed growth.
Laying Down the Gravel Base
The gravel base provides drainage and support for your patio. It should be a layer of compacted gravel, ensuring proper drainage and preventing settling over time.
Here’s how to lay down the gravel base:
1. Determine the Gravel Depth: The ideal thickness for the gravel base is typically 4-6 inches, depending on the size of your patio and the weight it will need to support.
2. Spread the Gravel: Use a wheelbarrow to transport the gravel and spread it evenly over the landscape fabric using a rake or a shovel. Ensure you maintain a consistent depth throughout the area.
3. Compact the Gravel: After spreading the gravel, compact it using a tamper or a vibrating plate compactor. This process ensures stability and prevents settling.
4. Check for Level: Use a level to ensure the gravel base is level. You may need to adjust the gravel depth in certain areas to achieve a level surface.
A well-compacted gravel base will create a solid foundation for your patio, ensuring stability and drainage for years to come.
Visual Representation of the Layers
Here’s a visual representation of the layers involved in creating the base for your gravel patio:
| Layer | Description |
|——————–|———————————————————————————–|
| Existing Soil | The natural soil beneath your patio. |
| Landscape Fabric | A woven barrier that prevents weeds from growing through the gravel. |
| Gravel Base | A compacted layer of gravel that provides drainage and support for your patio. |
Maintaining Your Gravel Patio

A gravel patio, while low-maintenance, still requires some attention to keep it looking its best and functioning properly. Regular maintenance will help prevent weeds from taking over, ensure proper drainage, and extend the life of your patio.
Regular Maintenance Tasks
Regular maintenance tasks help keep your gravel patio looking neat and functional.
- Weeding: Weeds can quickly sprout in gravel, especially if the area receives a lot of sunlight. Regularly remove any weeds that appear, preventing them from taking root and spreading. You can use a hand trowel or a weeding tool to pull out weeds. For larger areas, consider using a weed killer, but be sure to choose a product that is safe for your plants and the environment.
- Removing Debris: Leaves, twigs, and other debris can accumulate on your gravel patio, making it look messy and affecting drainage. Regularly sweep or rake the patio to remove any debris. Consider using a leaf blower for larger areas.
- Replenishing Gravel: Over time, gravel can compact and settle, leading to uneven surfaces and reduced drainage. Regularly replenish the gravel, adding more to areas where it has settled. This will also help to refresh the look of your patio. Aim to replenish the gravel every few years, depending on the amount of foot traffic and weather conditions.
Dealing with Frost Heave, Diy gravel patio
Frost heave is a common problem in areas with freezing temperatures. As water in the ground freezes, it expands, pushing up the gravel and creating uneven surfaces.
- Preventing Frost Heave: To minimize frost heave, consider using a frost-resistant gravel mix. These mixes are designed to withstand the expansion and contraction of frozen ground. You can also use a gravel base that is deeper than the frost line, which will help to prevent the gravel from being pushed up.
- Addressing Existing Frost Heave: If your gravel patio has already experienced frost heave, you can address the problem by leveling the gravel. Use a rake or a shovel to spread the gravel evenly. You can also add more gravel to areas that have settled.
Extending the Lifespan of Your Gravel Patio
With proper care, your gravel patio can last for many years.
- Proper Drainage: Ensure that your gravel patio has proper drainage to prevent water from pooling and eroding the gravel. A slight slope away from the house is ideal. You can also use a drainage layer, such as landscape fabric, beneath the gravel to help with drainage.
- Protecting the Gravel: Using a sealant or a protective layer, like landscape fabric, can help to protect the gravel from UV damage and weathering. This can help to keep the gravel looking its best for longer.
Maintenance Schedule
| Task | Frequency |
|—|—|
| Weeding | Weekly, especially during growing season |
| Removing Debris | Weekly, as needed |
| Replenishing Gravel | Every few years, depending on usage and weather |
| Addressing Frost Heave | As needed, after winter |
| Protecting the Gravel | Every few years, depending on weather and usage |
Safety Tips for DIY Gravel Patio Construction

Building a gravel patio is a rewarding project, but it’s essential to prioritize safety throughout the process. Gravel, tools, and the physical demands of the work can pose hazards if proper precautions aren’t taken. This section will guide you through essential safety tips to ensure a safe and successful DIY gravel patio project.
Safety Gear for Gravel Patio Construction
Wearing appropriate safety gear is crucial to protect yourself from potential hazards. Here’s a checklist of essential safety gear:
- Gloves: Wear heavy-duty work gloves to protect your hands from cuts, scrapes, and blisters caused by gravel, tools, and debris. Look for gloves with good grip and puncture resistance.
- Eye Protection: Safety glasses or goggles are essential to protect your eyes from flying debris, dust, and gravel. Choose glasses with side shields for maximum protection.
- Sturdy Footwear: Wear closed-toe shoes with good grip to prevent slips and falls on the gravel surface. Steel-toe boots offer additional protection from dropped objects.
- Hearing Protection: If using power tools, earplugs or earmuffs are essential to protect your hearing from loud noises.
- Dust Mask: A dust mask is recommended to prevent inhaling dust and particles, especially when working with gravel or using power tools.
Safety Precautions During Construction
It’s important to be aware of potential hazards and take precautions during every stage of the construction process:
- Heavy Lifting: Use proper lifting techniques to avoid back injuries. Bend your knees, keep your back straight, and lift with your legs. If you’re lifting heavy items, get help from a friend or family member.
- Power Tools: Always use power tools according to manufacturer instructions. Wear safety glasses and gloves, and ensure the work area is clear of obstacles. Never operate power tools while standing on an unstable surface.
- Working with Gravel: Gravel can be sharp and abrasive. Wear gloves to protect your hands and use a wheelbarrow to move gravel, avoiding carrying large amounts by hand.
- Weather Conditions: Avoid working in wet or icy conditions, as this can increase the risk of slips and falls. Be mindful of extreme heat, take breaks, and stay hydrated.
- Children and Pets: Keep children and pets away from the construction area to prevent accidents and injuries.
Safety Precautions After Construction
Even after the patio is complete, there are still safety considerations to keep in mind:
- Clear the Area: Remove any debris, tools, or leftover materials from the patio area.
- Check for Loose Gravel: Ensure the gravel is compacted and there are no loose stones that could cause tripping hazards.
- Lighting: If you plan to use the patio at night, install adequate lighting to prevent accidents.
Safety Checklist for DIY Gravel Patio Construction
| Safety Precaution | Importance |
|---|---|
| Wear appropriate safety gear | Protects you from potential hazards such as cuts, scrapes, debris, and dust. |
| Use proper lifting techniques | Prevents back injuries when handling heavy materials. |
| Follow power tool safety guidelines | Minimizes the risk of accidents and injuries when using power tools. |
| Work in safe weather conditions | Reduces the risk of slips, falls, and heat exhaustion. |
| Keep children and pets away from the construction area | Ensures their safety and prevents accidents. |
| Clear the area after construction | Reduces tripping hazards and creates a safe environment. |
| Check for loose gravel | Prevents slips and falls on the finished patio. |
| Install adequate lighting for nighttime use | Ensures visibility and safety when using the patio at night. |
Creating a DIY gravel patio is a rewarding experience that allows you to personalize your outdoor space while saving money. By following our comprehensive guide, you’ll be equipped with the knowledge and skills to build a beautiful and durable patio that will enhance your home and provide a relaxing haven for years to come. So gather your tools, embrace the process, and get ready to transform your backyard into a stunning oasis.
A DIY gravel patio is a great way to add a low-maintenance outdoor space to your home. The process is relatively simple, and you can customize the look to your liking. While you’re planning your patio, it might be interesting to learn about the angiotensin converting enzyme , a key player in regulating blood pressure. It’s fascinating how the body works, and it can be a great way to appreciate the science behind simple things like a gravel patio.


